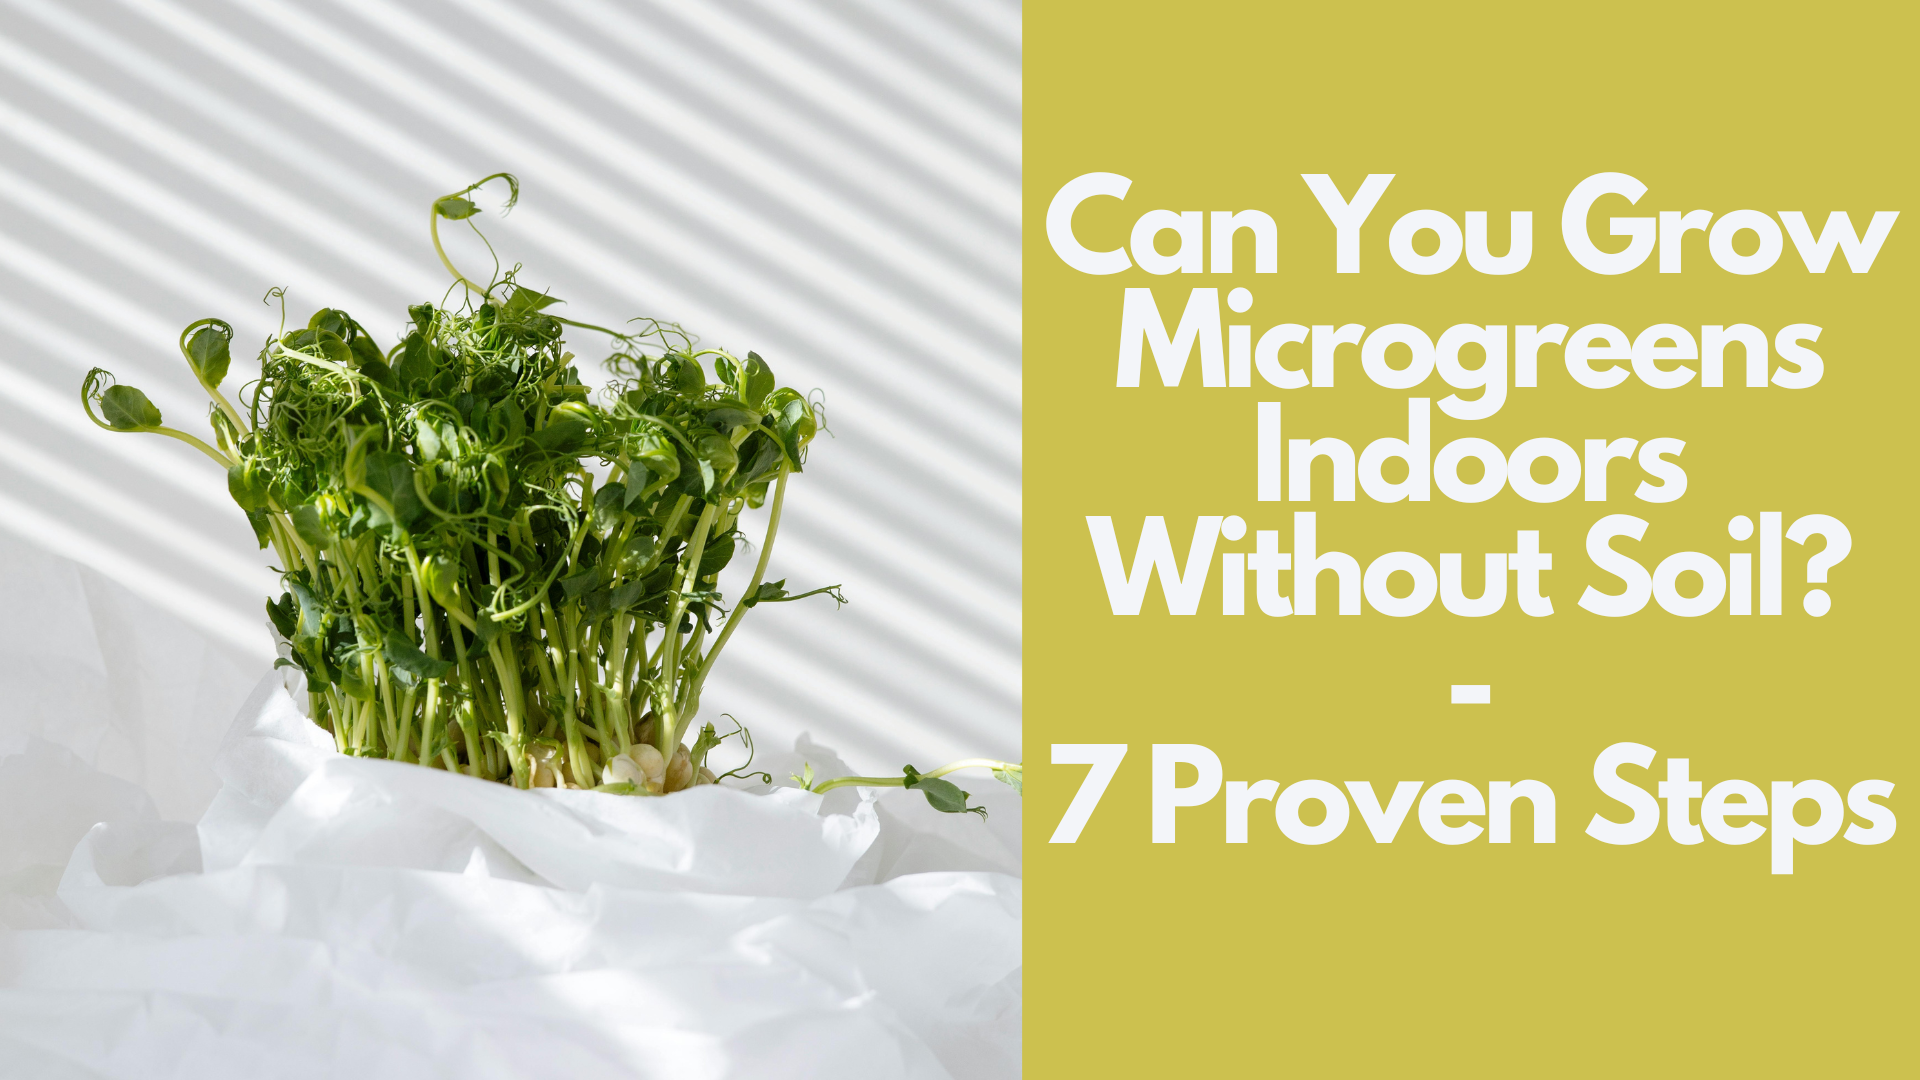
Discover how to grow microgreens indoors without soil in 7 proven steps. This easy, mess-free method is perfect for beginners who want fresh, healthy greens at home; no garden required! Microgreens are nutrient-packed, vibrant mini-plants that add flavor, color, and health benefits to your meals. Growing microgreens indoors without soil, also known as hydroponic microgreens, is a clean, efficient, and space-saving method perfect for urban gardeners, small-space dwellers, or anyone looking to simplify their gardening routine.
By reading this guide, you’ll be able to know Can You Grow Microgreens Indoors Without Soil:7 Proven Steps. Whether you’re a beginner or an experienced gardener, this guide will help you grow fresh, healthy microgreens year-round.

Why grow microgreens indoors without soil easy?
Growing microgreens without soil offers several advantages:
- Clean and Mess-Free: No soil means no dirt on your countertops or floors, making it ideal for indoor spaces like apartments or kitchens.
- Space-Efficient: Hydroponic setups require minimal space, perfect for small homes or urban environments.
- Faster Growth: Microgreens grown hydroponically often grow faster due to direct nutrient access.
- Year-Round Gardening: Indoor setups allow you to grow fresh greens regardless of the season.
- Eco-Friendly: Soil-less systems often use less water than traditional gardening and eliminate the need for soil disposal.
However, gardeners may face challenges like mold growth, uneven germination, or nutrient deficiencies. Don’t worry; this guide addresses these issues and provides actionable solutions.
What are microgreens?
Microgreens are young, edible plants harvested 7–21 days after germination, typically when they develop their first true leaves. Popular microgreen varieties include arugula, radish, broccoli, kale, cilantro, and sunflower. They’re packed with vitamins, antioxidants, and flavor, making them a favorite for salads, smoothies, and garnishes.
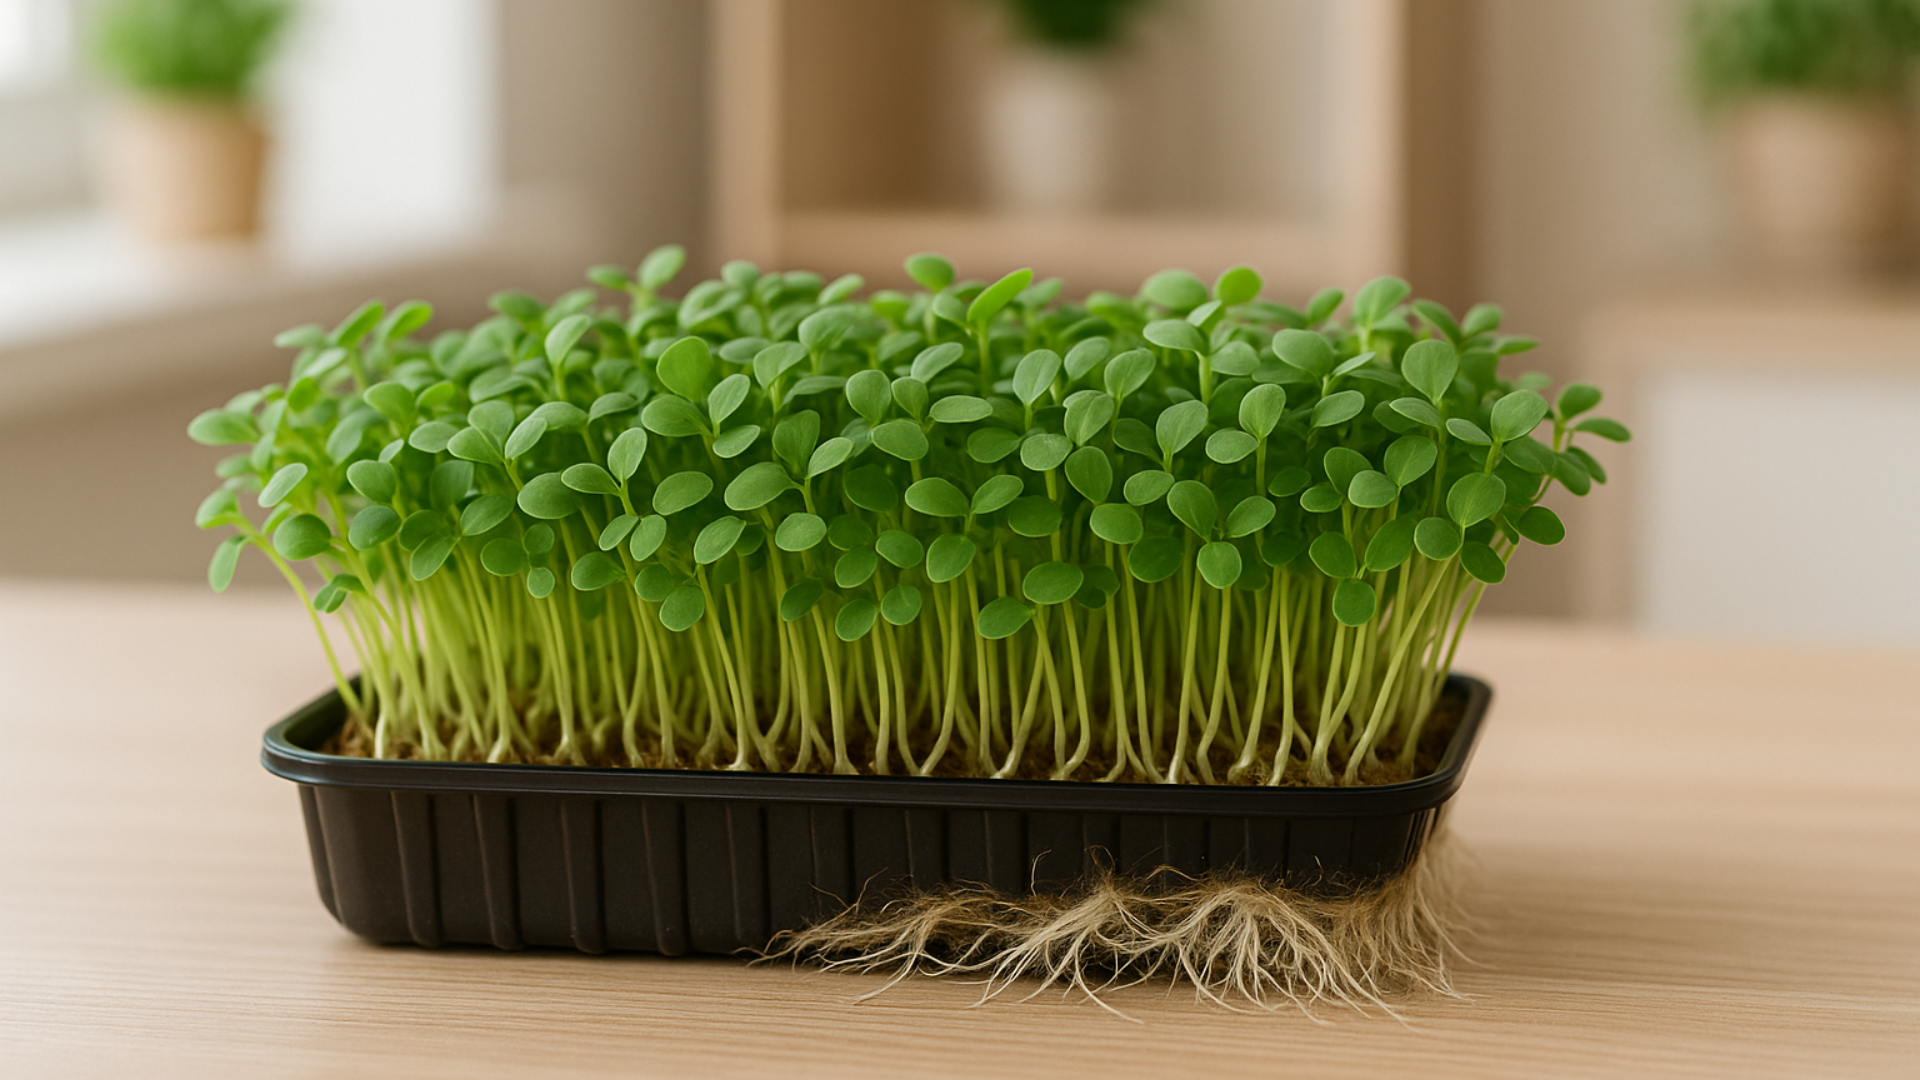
Unlike sprouts, which are grown in water and eaten whole (including roots), microgreens are grown to a slightly larger stage and harvested above the growing medium. Soil-less microgreen gardening uses materials like hemp mats, coconut coir, or burlap as a growing medium, with water and nutrients delivered directly to the roots.
What tools and materials do you need to grow microgreens without soil?
To grow microgreens indoors without soil, you’ll need the following supplies:
- Seeds: Choose high-quality, organic microgreen seeds suited for hydroponic growing (e.g., broccoli, radish, pea shoots).
- Growing Trays: Use shallow trays with drainage holes (for the growing medium) and a solid tray underneath to catch water.
- Growing Medium: Hemp mats, coconut coir, burlap, or jute mats are excellent soil alternatives.
- Nutrient Solution: A liquid hydroponic nutrient mix designed for microgreens (available at garden centers or online).
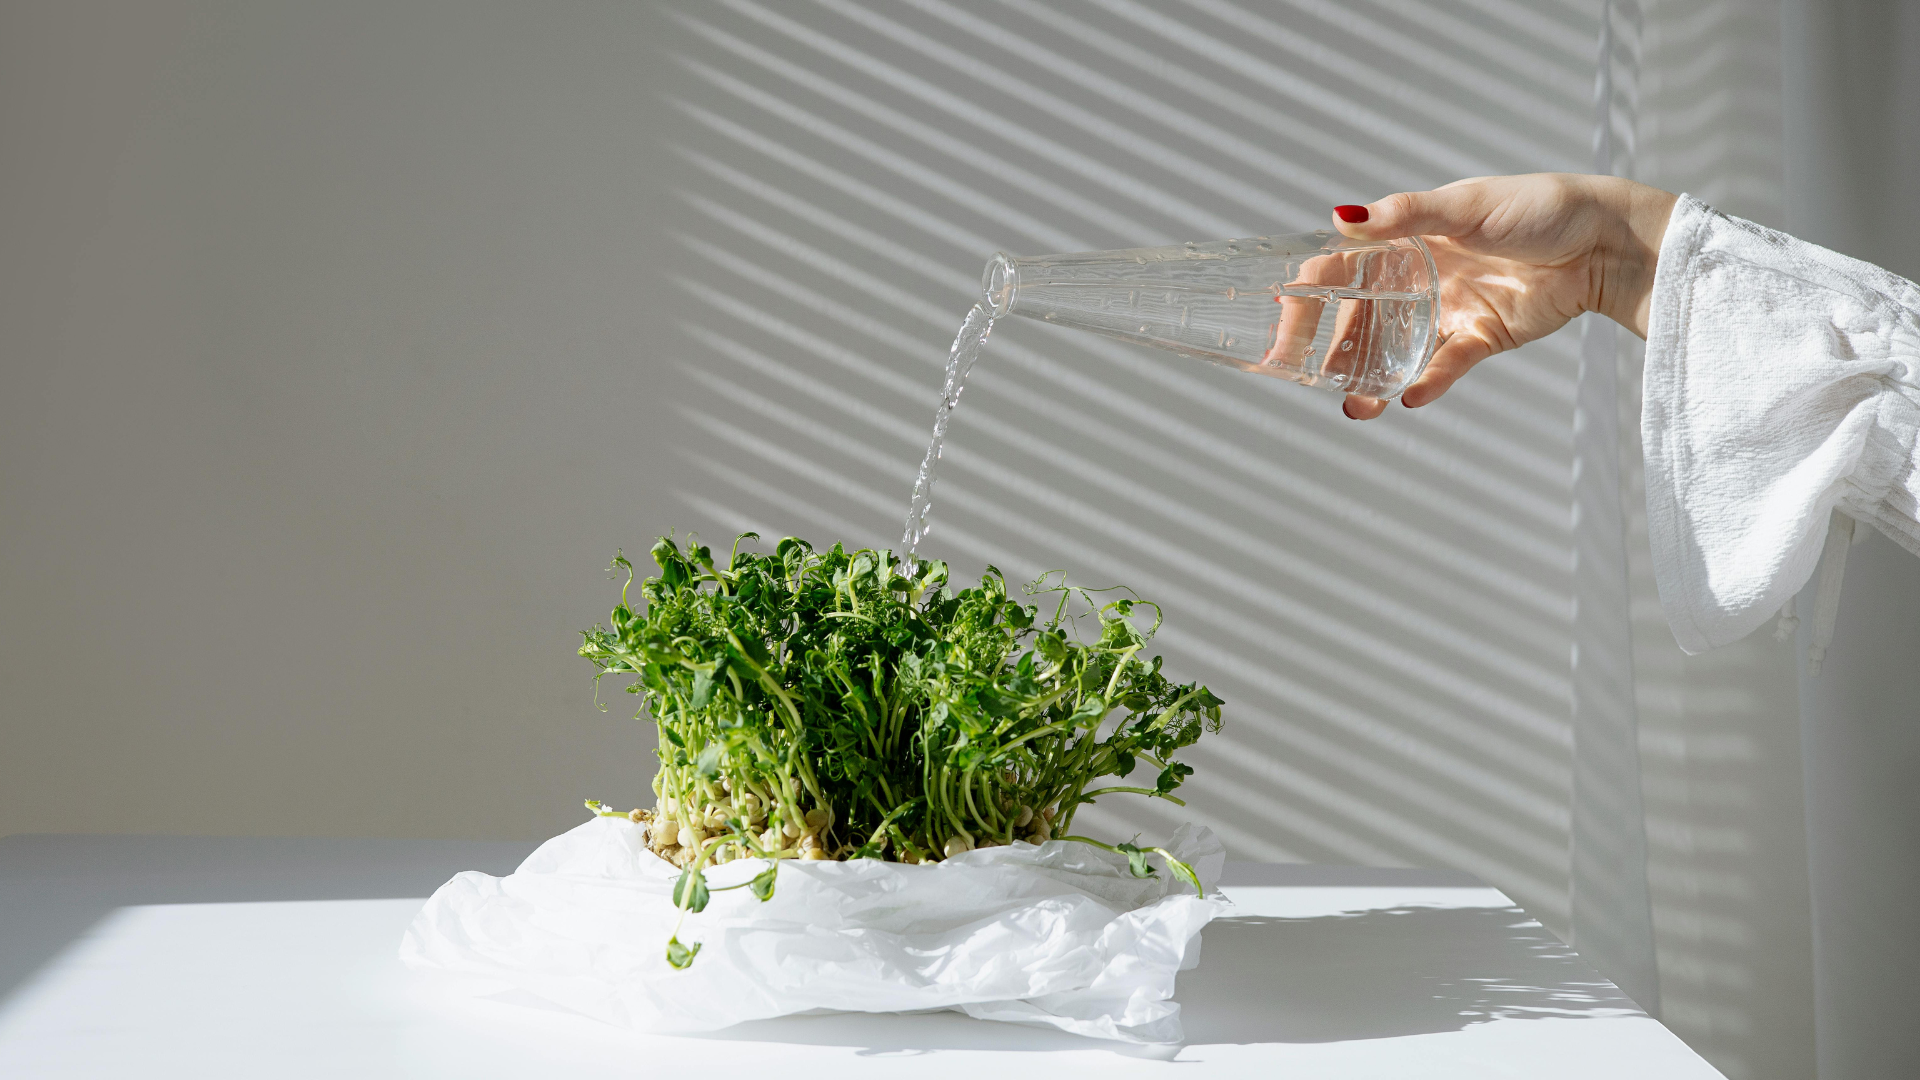
- Spray Bottle or Watering Can: For misting seeds and keeping the growing medium moist.
- Grow Lights: LED grow lights or fluorescent lights for consistent indoor lighting.
- pH Testing Kit: To ensure the water’s pH is between 5.5 and 6.5 for optimal nutrient absorption.
- Scissors or Shears: For harvesting microgreens cleanly.
- Ventilation Fan: To prevent mold by improving air circulation.
- Timer: To automate light cycles (14–16 hours of light daily).
- Thermometer and Hygrometer: To monitor temperature (ideally 65–75°F) and humidity (40–60%).
Where to buy supplies?
You can find these materials at local garden centers, hydroponic stores, or online retailers like Amazon, True Leaf Market, or Johnny’s Selected Seeds. Look for “microgreen growing kits” for beginners, which often include trays, mats, and seeds.
How to grow microgreens indoors without soil step by step?
Follow these steps to grow healthy microgreens hydroponically:
Step 1: Choose Your Seeds
Select microgreen varieties that thrive in soil-less systems. Beginners should start with easy-to-grow options like radish, broccoli, or pea shoots. Check the seed packet for germination time and specific growing requirements.
- Common Problem: Poor germination rates due to low-quality seeds.
- Solution: Purchase seeds from reputable suppliers and store them in a cool, dry place to maintain viability.
Step 2: Prepare Your Growing Tray
Place a growing medium (e.g., hemp mat or coconut coir) in a tray with drainage holes. Ensure the medium is evenly spread and fits snugly. Place the tray with holes inside a solid tray to catch excess water.
- Common Problem: Uneven medium causing patchy growth.
- Solution: Trim the growing mat to fit the tray perfectly and press it down gently to create a flat surface.
Step 3: Soak and Spread Seeds
Some seeds, like sunflower or pea shoots, benefit from soaking for 4–8 hours to speed up germination. After soaking, spread seeds evenly across the growing medium. Aim for a dense but not overcrowded layer (about 10–15 seeds per square inch for small seeds like broccoli, fewer for larger seeds like sunflowers).
- Common Problem: Overcrowding leads to mold or weak growth.
- Solution: Follow seed density recommendations and ensure good air circulation with a small fan.
Step 4: Mist and Cover
Lightly mist the seeds with water using a spray bottle. Cover the tray with a lid or another tray to create a dark, humid environment for germination. This blackout period typically lasts 2–4 days, depending on the seed variety.
- Common Problem: Mold growth during the blackout period.
- Solution: Check daily for mold and ensure proper ventilation. If mold appears, increase airflow and reduce watering slightly.
Step 5: Provide Light and Nutrients
Once seeds sprout and show small leaves, remove the cover and move the tray to a well-lit area. If natural light is limited, use grow lights set 6–12 inches above the tray for 14–16 hours daily. Add a diluted hydroponic nutrient solution to the water (follow the product’s instructions) and mist or bottom-water the tray to keep the medium moist but not soggy.
- Common Problem: Leggy or pale microgreens due to insufficient light.
- Solution: Increase light intensity or duration and ensure lights are positioned close enough to the plants.
Step 6: Monitor Temperature and Humidity
Maintain a temperature of 65–75°F and humidity of 40–60%. Use a fan to promote air circulation and prevent mold. Check the pH of your nutrient solution (5.5–6.5) to ensure proper nutrient uptake.
- Common Problem: Slow growth due to incorrect temperature or humidity.
- Solution: Use a thermometer and hygrometer to monitor conditions and adjust with a heater, fan, or humidifier as needed.
Step 7: Harvest Your Microgreens
Harvest microgreens when they develop their first true leaves, typically 7–21 days after planting. Use clean scissors to cut the stems just above the growing medium. Rinse gently and pat dry before eating or storing.
- Common Problem: Bitter or tough microgreens.
- Solution: Harvest at the right time (check seed-specific guidelines) and avoid overexposure to light, which can cause bitterness.

How to store and use microgreens?
After harvesting, store microgreens in an airtight container lined with a paper towel in the refrigerator. They typically last 7–10 days. Use them in salads, sandwiches, smoothies, or as garnishes for soups and entrees.
- Common Problem: Microgreens spoiling quickly.
- Solution: Ensure they’re completely dry before storing and avoid stacking them tightly in containers.
What are the common problems when growing microgreens without soil and how fix them?
Growing microgreens without soil is straightforward, but gardeners may encounter these issues:
1. Mold or Fungal Growth
Causes?
Excess moisture, poor ventilation, or overcrowding.
Solution?
Reduce watering, increase air circulation with a fan, and space seeds appropriately. If mold persists, try a different growing medium or sterilize trays between uses.
2. Uneven Germination
Causes?
Inconsistent seed distribution or uneven moisture.
Solution?
Spread seeds evenly and ensure the growing medium is uniformly moist. Soak larger seeds before planting to promote consistent germination.
3. Leggy or Weak Microgreens
Causes?
Insufficient light or nutrient deficiencies.
Solution?
Use grow lights with adequate intensity and ensure the nutrient solution is properly diluted and pH-balanced.
4. Yellowing Leaves
Causes?
Overwatering, nutrient imbalance, or poor light.
Solution?
Reduce watering, check nutrient solution pH, and adjust light exposure. Yellowing may also indicate the microgreens are past their harvest window.
5. Pests
Causes?
Indoor pests like fungus gnats can be attracted to moist growing mediums.
Solution?
Use sticky traps, maintain cleanliness, and avoid overwatering. Sterilize trays and tools to prevent pest infestations.
Top success tips for soil-free microgreens growing?
- Start Small – Begin with one or two varieties to master the process before experimenting with others.
- Keep It Clean – Sterilize trays and tools between uses to prevent mold and bacteria.
- Experiment with Mediums – Try different growing mediums (hemp, coconut coir, burlap) to find what works best for you.
- Rotate Crops – Grow different microgreens in succession to maintain a continuous harvest.
- Track Progress – Keep a journal to note germination times, harvest dates, and any issues for future reference.
What are the benefits of hydroponic microgreens?
Hydroponic microgreens offer unique benefits compared to soil-based growing:
- Higher Nutrient Control: You can tailor the nutrient solution to the specific needs of each crop.
- Less Waste: No soil disposal, and water is used efficiently.
- Faster Harvest: Direct nutrient delivery speeds up growth.
- Clean Harvest: No soil particles to wash off, making preparation easier.
5 Best microgreens for soil-less growing
Some microgreens are better suited for hydroponic systems due to their fast germination and low maintenance. Here are top picks:
- Broccoli: Fast-growing, nutrient-rich, and easy to grow.
- Radish: Spicy flavor, germinates in 3–5 days.
- Pea Shoots: Sweet and tender, ideal for beginners.
- Arugula: Peppery taste, grows well in hydroponic setups.
- Sunflower: Nutty flavor, requires soaking but thrives without soil.
Watch How to grow microgreens complete guide: Setup, soil vs hydroponic and without soil plus recipes | Video
Top 5 FAQs & Answers related to Can you grow microgreens indoors without soil:7 proven steps
What are the best materials for growing microgreens indoors without soil?
To grow microgreens indoors without soil, you’ll need a growing medium like hemp mats, coconut coir, burlap, or jute mats. These materials retain moisture, support root growth, and are easy to use. Hemp mats are popular for their uniform texture and biodegradability, while coconut coir is eco-friendly and widely available.
You’ll also need shallow trays with drainage holes, a solid tray to catch water, a spray bottle for misting, and a hydroponic nutrient solution. For lighting, LED grow lights ensure consistent growth. Always sterilize trays between uses to prevent mold.
How do i prevent mold when growing microgreens without soil indoors?
Mold is a common issue in hydroponic microgreens due to high moisture levels. To prevent it, ensure proper ventilation by using a small fan to circulate air.
Avoid overcrowding seeds, spread them evenly (about 10–15 small seeds per square inch). Keep the growing medium moist but not soggy by misting lightly or bottom-watering. During the blackout period (2–4 days), check daily for mold and reduce watering if needed. Sterilize trays and tools before planting, and consider using a hydrogen peroxide solution (1 tsp per gallon of water) to mist seeds as a preventive measure.
Can i grow microgreens indoors without soil without grow lights?
While grow lights are ideal for consistent results, you can grow microgreens without soil using natural light if you have a bright, south-facing window with 6–8 hours of direct sunlight daily. However, insufficient light can lead to leggy, pale microgreens.
If natural light is limited, especially in winter or in urban settings, affordable LED or fluorescent grow lights (20–40 watts, full-spectrum) are recommended. Position lights 6–12 inches above trays for 14–16 hours daily. Supplementing natural light with grow lights ensures faster, healthier growth.
Which microgreens are easiest to grow indoors without soil?
For beginners growing microgreens indoors without soil, start with broccoli, radish, pea shoots, arugula, or sunflower. Broccoli and radish germinate quickly (3–5 days) and require minimal maintenance. Pea shoots are sweet and forgiving, while arugula adds a peppery flavor and thrives in hydroponic setups.
Sunflower microgreens need soaking (4–8 hours) but grow robustly. Choose high-quality, organic seeds from reputable suppliers like True Leaf Market or Johnny’s Selected Seeds to ensure good germination.
These varieties are ideal for mastering soil-less growing before experimenting with others.
How often should i water microgreens grown without soil indoors?
Microgreens grown without soil need consistent moisture but should not be overwatered. Mist the seeds or growing medium 1 – 2 times daily with a spray bottle to keep it moist, not waterlogged. Alternatively, use bottom-watering by adding water to the solid tray beneath, allowing the medium to absorb it. During the blackout period (2–4 days), check moisture levels daily to prevent mold. After sprouting, adjust watering based on humidity and temperature—drier environments may require more frequent misting. Always use a pH-balanced (5.5–6.5) nutrient solution diluted per product instructions.
Conclusion
Growing microgreens indoors without soil is an accessible, rewarding way to enjoy fresh, nutrient-packed greens year-round. By following this guide, you can overcome common gardening challenges like mold, uneven germination, and nutrient deficiencies. With the right tools, a bit of patience, and attention to detail, you’ll be harvesting vibrant microgreens in no time.
Start small, experiment with different varieties, and enjoy the fruits (or greens) of your labor. Whether you’re a beginner or a seasoned gardener, hydroponic microgreens offer a fun, sustainable way to bring fresh produce to your table.
By reading this guide, I hope you got the full idea of Can You Grow Microgreens Indoors Without Soil:7 Proven Steps.
Please share this Can You Grow Microgreens Indoors Without Soil:7 Proven Steps with your friends and do a comment below about your feedback.
We will meet you on next article.
Until you can read,https://gardengeo.com/15-proven-trellis-ideas-for-climbing-beans/
